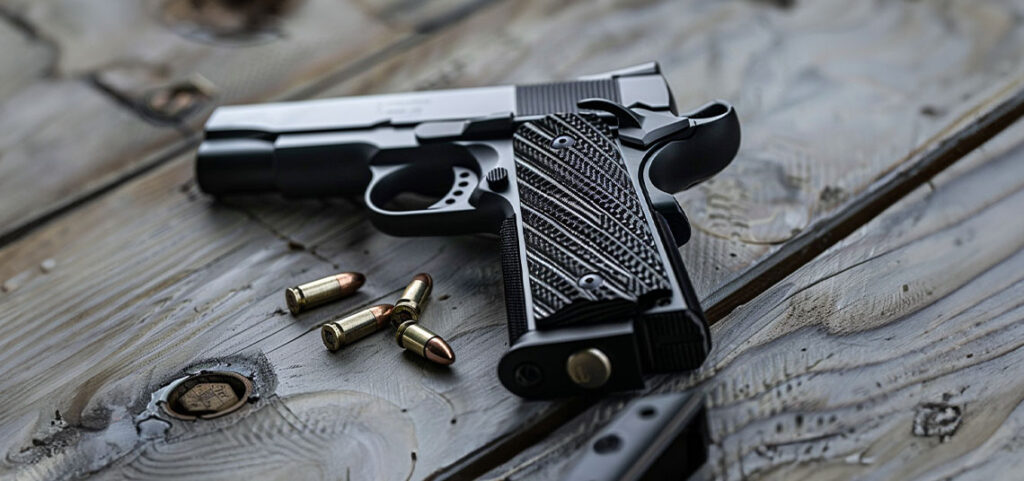
How to Clean Handgun – Pistol
Cleaning a handgun is a crucial part of firearm maintenance. Not only does it keep your weapon functioning properly, but it also helps to ensure your safety when using it. In this article, we’ll go over the steps for cleaning a handgun and discuss some specific tips for maintaining 1911 grips, Beretta grips, F92 grips, Ruger grips, and Browning Hi-Power grips.
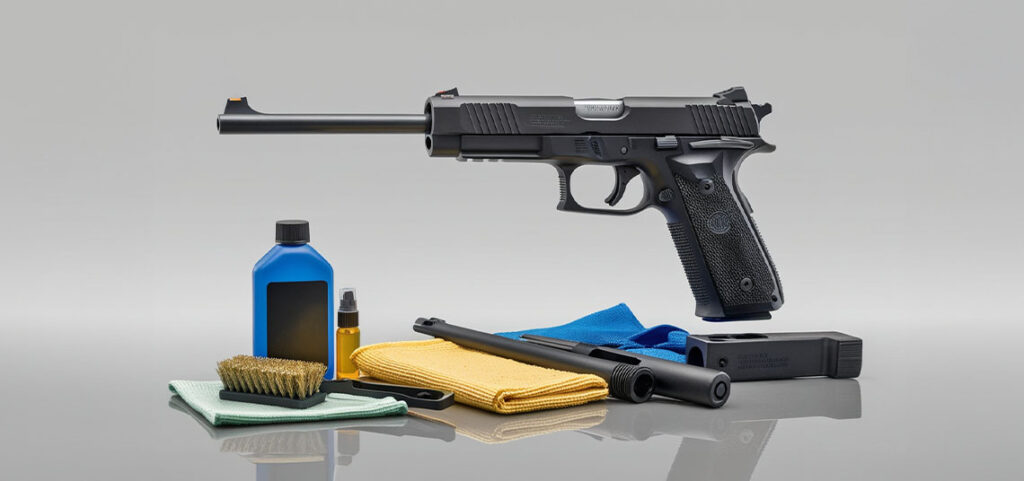
Step 1: Gather your supplies.
To clean your handgun, you’ll need a few basic supplies:
- A cleaning rod
- A patch holder or jag
- Cleaning patches
- A bore brush
- Gun cleaning solvent
- Gun oil
Step 2: Disassemble the gun.
Before you start cleaning your handgun, you’ll need to disassemble it according to the manufacturer’s instructions. This will usually involve removing the slide, barrel, and any other removable parts. Be sure to keep track of any small parts and lay them out in a safe and organized manner.
Step 3: Clean the barrel.
Using your cleaning rod and a bore brush, scrub the inside of the barrel to remove any fouling or debris. Follow this by running a cleaning patch soaked in solvent through the barrel to remove any remaining dirt. Repeat this process until the patches come out clean.
Step 4: Clean the slide and frame.
Using a cloth or brush, scrub the slide and frame to remove any dirt or grime. Be sure to get into all the crevices and corners. Once you’ve scrubbed the surface clean, wipe it down with a patch soaked in solvent to remove any remaining dirt.
Step 5: Lubricate the moving parts.
Once the gun is clean and dry, it’s time to lubricate the moving parts. This will help to ensure smooth operation and reduce wear on the firearm. Use a small amount of gun oil on the slide rails, barrel, and any other moving parts. Be sure to wipe off any excess oil, as too much can attract dirt and debris.
Step 6: Reassemble the gun.
Now that your handgun is clean and lubricated, it’s time to reassemble it. Follow the manufacturer’s instructions to put the gun back together, making sure to securely tighten any screws or bolts.
Step 7: Test fire the gun.
After reassembling your handgun, it’s a good idea to test fire it to make sure it’s functioning properly. Find a safe and legal location to do this, and always follow proper gun safety procedures.
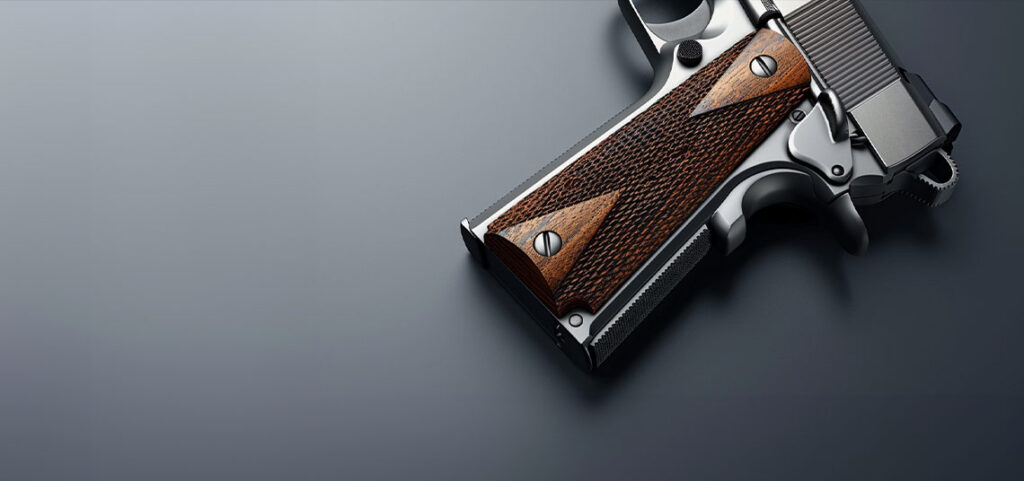
Specific tips for maintaining different grips:
- 1911 grips: The 1911 is a classic design with a timeless grip. To keep your 1911 grips in good condition, be sure to clean and oil them regularly. You can use a soft cloth and a small amount of gun oil to wipe down the grips, taking care not to get oil on the rest of the gun.
- Beretta grips: Beretta grips are typically made of a durable polymer material that is resistant to wear and tear. To clean them, simply wipe them down with a damp cloth and dry them off. If they become extremely dirty, you can use a mild soap and water to scrub them clean.
- F92 grips: F92 grips are made of a rubber-like material that provides a secure and comfortable grip. To clean them, simply wipe them down with a damp cloth and dry them off. If they become extremely dirty, you can use a mild soap and water to scrub them clean.
- Ruger grips: Ruger grips are typically made of a hard polymer material that