Taurus Grips Installation : A 5-Step Easy Guide
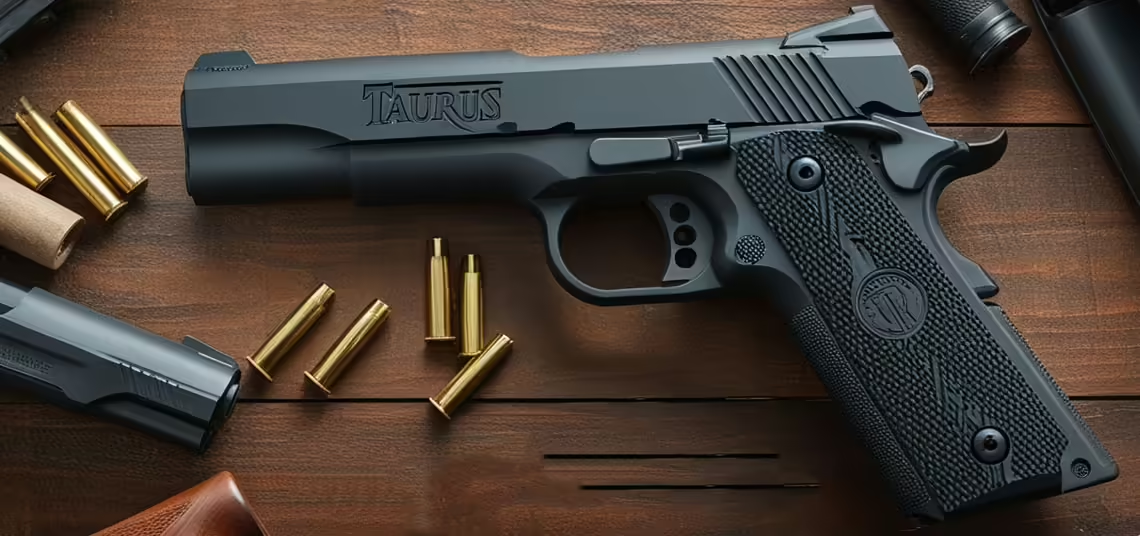
Taurus grips installation is a crucial process that not only enhances the firearm’s performance but also maximizes user comfort. Proper installation is critical not just for safety but also for ensuring the firearm’s longevity and efficient use. Understanding key points before starting the installation is essential for both safety and accuracy.
Materials Needed for Taurus Grips Installation
To successfully complete the installation of Taurus grips, it is essential to use the correct materials and equipment. Ensuring a safe and long-lasting installation requires the right choice of grips and the proper tools. Thorough preparation before installation ensures a smooth process.
Choosing the Right Grips
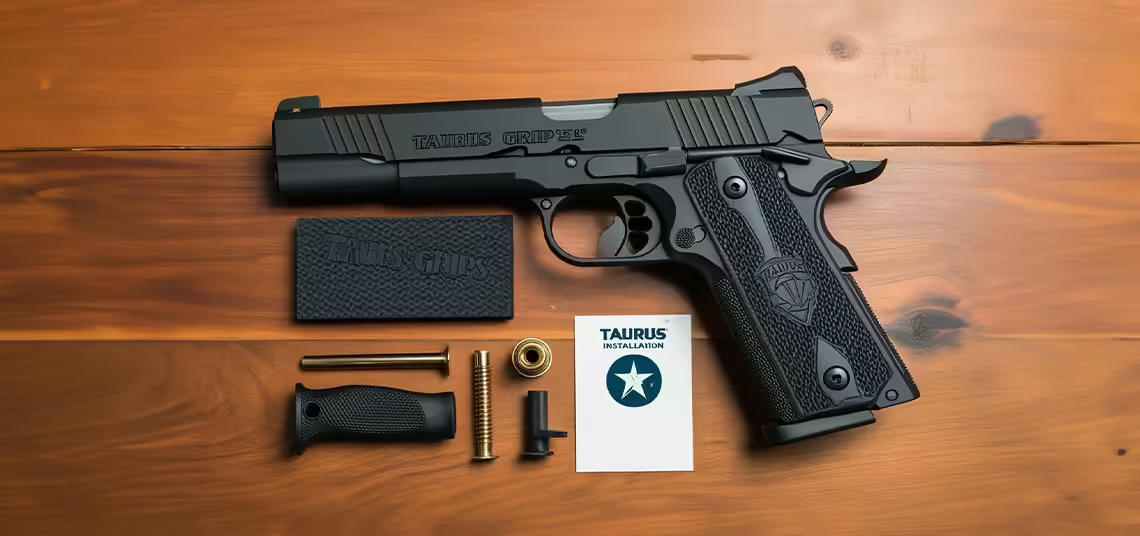
Selecting the right grips during the Taurus grips installation process is a critical step. The grips must ergonomically fit the user, improving both ease of use and minimizing fatigue over time. Available grip options for Taurus firearms come in various materials and designs. For instance, wooden, rubber, or polymer grips can vary based on performance and personal preferences. Durability, a non-slip surface, and comfortable handling are key factors to consider when making this choice. A wrong grip selection can complicate the installation process and lead to long-term performance loss.
Necessary Tools and Equipment
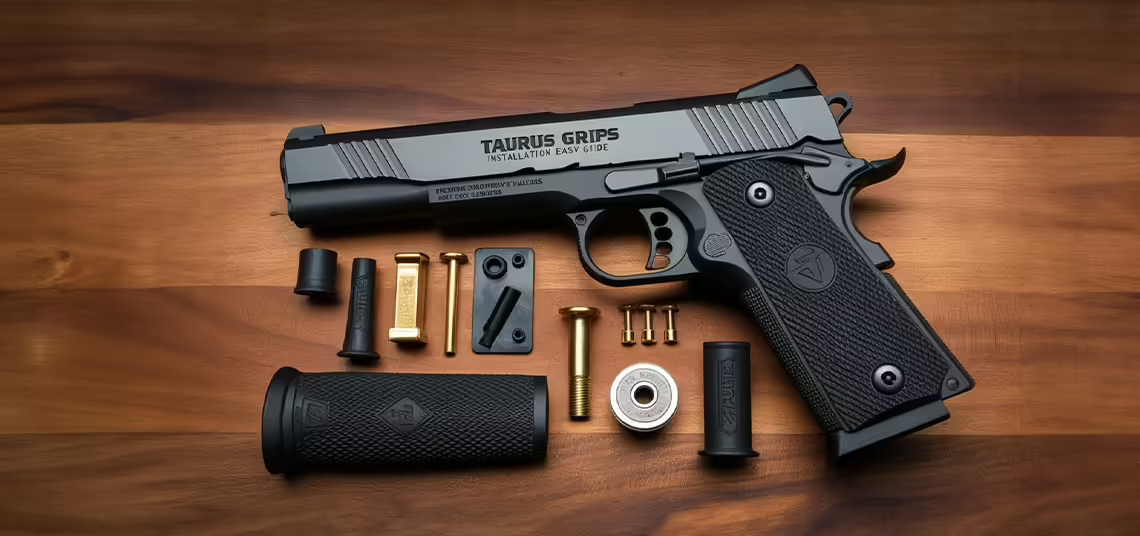
Before starting the Taurus grips installation, having the right tools and equipment is essential to ensure a smooth process. Key tools include the correct screws, a screwdriver set, and specialized mounting tools for securing the grips. Ensuring that the tools are the correct size will allow the grips to be securely installed. Additionally, using protective gloves is recommended to prevent scratches on the grip’s delicate surface. Proper use of these tools during each step ensures enhanced firearm performance and safety.
Pre-Installation Preparations
Preparations made before starting the installation make the Taurus grips installation process safer and more efficient. First, the work area must be clean and organized. Cleaning the firearm and grips by removing dust, dirt, and oil residues allows for a more secure installation. Moreover, it is crucial to ensure that the firearm is safely unloaded and secured before beginning the grip installation. These steps prevent potential issues during the installation process and ensure the grips’ long-lasting use.
Key Considerations During Taurus Grips Installation
During the Taurus grips installation process, several critical points need attention. These steps ensure a smooth installation and play a vital role in maintaining safety. Overlooking small details can reduce performance and lead to undesirable results during use.
Safety Precautions
Safety is the most important factor during Taurus grips installation. It is essential to ensure that the firearm is completely unloaded during the installation. Keeping the firearm away from the firing mechanism and selecting a safe area for installation will minimize the risk of accidents. Additionally, the user is advised to wear proper protective equipment during the installation process. Protective gloves not only prevent damage to the grips’ delicate surface but also protect against potential injuries caused by installation tools. Safety precautions are just as important as the installation’s success for user health.
Preparing the Installation Area
Setting up an appropriate workspace for the installation of Taurus grips is essential for smooth progress and avoiding mistakes. The workspace should be clean, organized, and well-lit. Keeping the necessary tools and materials within reach prevents delays and avoids unnecessary errors during installation. Additionally, ensuring the surface is not slippery and spacious enough for proper placement of materials is another important detail to consider. Careful organization helps prevent damage to any tools or grips during the installation.
Correct Installation Angles and Orientation
The correct angle and orientation of the Taurus grips during installation are critical for firearm performance and ease of use. Improperly angled grips can make it difficult to handle the firearm and lead to loss of control during firing. When installing the grips, ensure that they are placed at the best angle to provide the user with a comfortable grip. During this stage, it is essential to confirm that the screws are properly secured and that the grips fit snugly against the firearm’s frame. Improper installation can pose a safety hazard and shorten the grips’ lifespan.
Step-by-Step Taurus Grips Installation
Taurus grips installation requires careful attention to each step. Proper installation not only improves the firearm’s ergonomics and usability but also enhances safety. By following these steps in sequence, you can successfully mount your Taurus grips and maximize their performance.
Step 1: Identifying Mounting Points
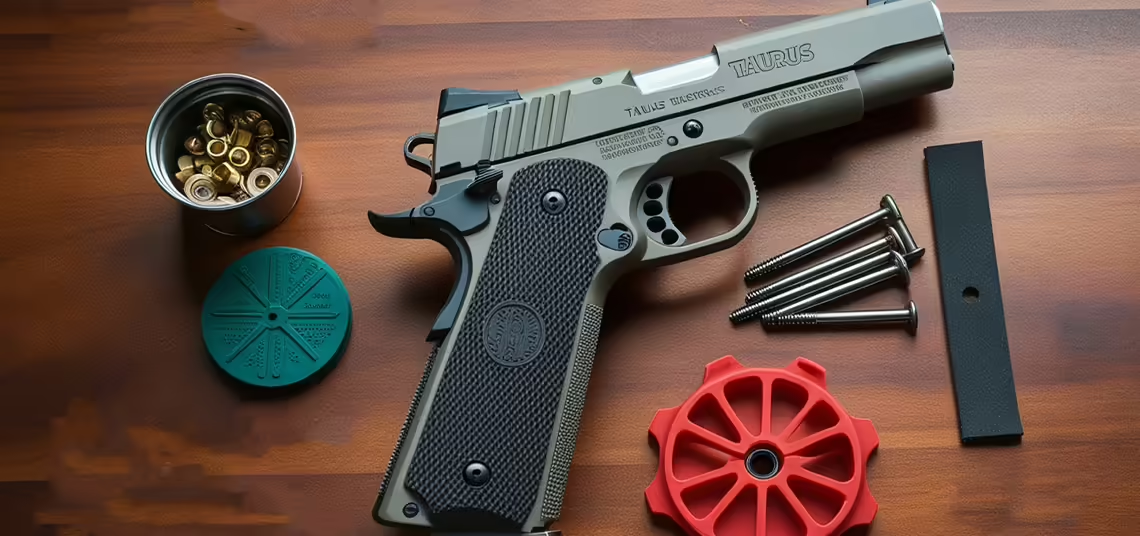
Before starting the installation of Taurus grips, it is important to identify the correct mounting points for the grips. This ensures the grips are properly aligned and securely attached to the firearm’s frame. The mounting points, where the grip screws will be inserted, should be carefully inspected. Selecting incorrect mounting points can prevent the grips from sitting evenly and affect the firearm’s performance in the long run. Ensuring the surface where the grips will be placed is clean and smooth is critical at this stage.
Step 2: Proper Placement of the Grips
Once the mounting points are determined, the grips must be properly placed on the firearm. This step is important to ensure the grips fit snugly onto the firearm and provide the user with a comfortable grip. The grips should be placed carefully without any gaps or movement. Improperly placed grips can cause balance issues during firing and reduce overall comfort. Once the grips are securely placed, the fastening process can begin.
Step 3: Screwing and Securing the Grips
One of the most important steps in Taurus grips installation is screwing and securing the grips. The screws must be inserted carefully and tightened to the correct torque. Over-tightening the screws can damage the grip surface, while under-tightening can cause the grips to become loose. The correct size and type of tools should be used to prevent damage to both the grips and the firearm. During the screwing process, ensuring the grips are securely fastened will prevent potential issues during use.
Step 4: Checking for Proper Securing
After screwing, it is important to ensure that the grips are securely attached. At this stage, check whether the grips are loose or unevenly placed. Improperly secured grips can make the firearm difficult to handle and pose a safety risk. During the securing checks, ensure the screws are fully tightened, the grips are not slipping, and they are positioned firmly. These checks are crucial for extending the firearm’s lifespan and ensuring safe use.
Step 5: Final Checks and Testing
The final step is to perform a series of tests to confirm the installation was done correctly. The placement of the Taurus grips, the tightness of the screws, and overall ergonomics should be reviewed. Ensure there is no slippage and no mistakes were made during the installation process. Post-installation tests will confirm whether the grips provide a comfortable and secure hold for the user. Once these tests are completed, the Taurus grips installation process will be successfully concluded.
Post-Installation Maintenance Tips
After completing the installation of Taurus grips, regular maintenance is essential for ensuring their long-term performance and durability. Post-installation care helps increase the grips’ lifespan and prevents performance degradation. Regular checks and proper maintenance methods directly affect the firearm’s overall performance.
Enhancing the Durability of Taurus Grips
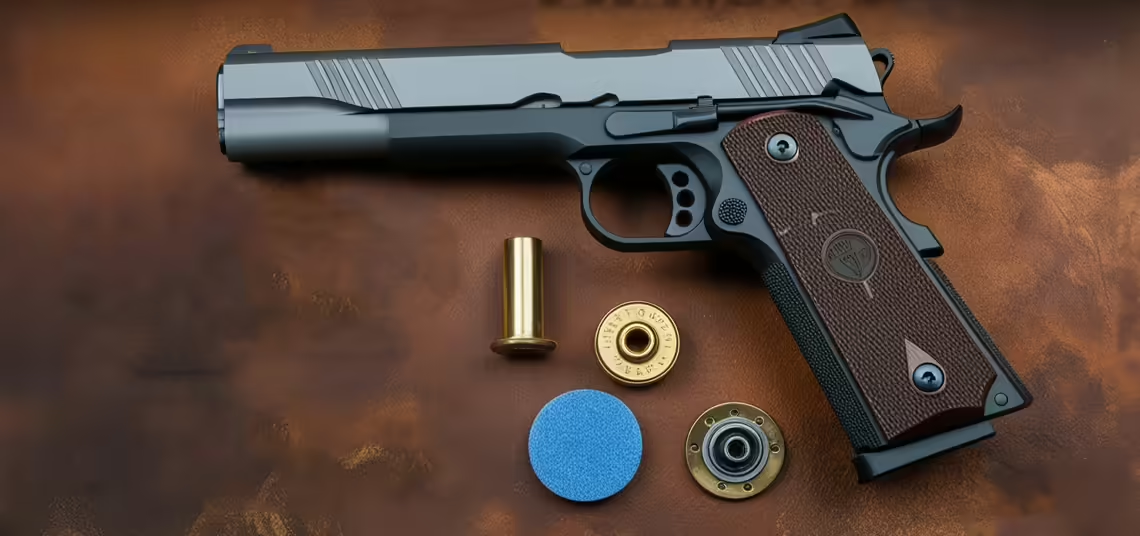
To improve the durability of Taurus grips, several important factors must be considered. First, using protective products suitable for the material of the grips is essential. For instance, applying products that protect against moisture and temperature changes can prevent wooden grips from cracking or deforming. For rubber or polymer grips, maintenance products that preserve their flexibility and non-slip surface should be chosen. Additionally, avoiding excessive pressure or impact on the grips will enhance their durability after installation. Regular inspections and tightening of any loose screws will also contribute to long-lasting use.
Regular Maintenance and Cleaning Tips
Regular cleaning and maintenance of Taurus grips are essential for preserving their aesthetic appearance and achieving long-term performance. After each use, it is important to clean the grips of dust, dirt, and oil residues. Avoid using harsh chemicals during cleaning, and instead, choose cleaning materials suitable for the grips’ material. For wooden grips, excessive moisture and water use should be avoided. After cleaning, polishing the grips with an appropriate care product will help maintain their natural shine. This will ensure that the Taurus grips look visually appealing while also improving their durability.
Frequently Asked Questions
This section addresses the most frequently asked questions about Taurus grips installation, covering common concerns and queries users may have. Having the correct information helps make the installation process safer and more efficient.
What Models Are Taurus Grips Compatible With?
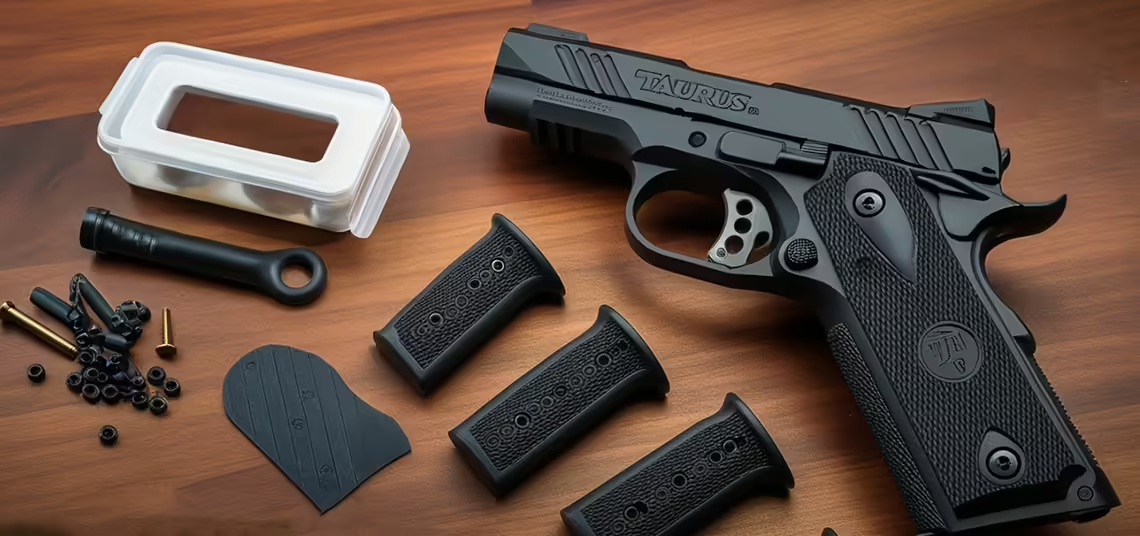
Taurus grips are generally designed to be compatible with various models of Taurus firearms. However, since each firearm model has unique features, it is important to ensure that the grips are fully compatible with the specific model of the firearm. The compatibility of Taurus grips ensures a secure fit to the firearm’s frame, allowing the user to handle the firearm more comfortably and safely. Popular Taurus models, such as the G2, G3, and PT series, are designed to be compatible with various grip options that optimize the user experience. Using an incompatible grip may complicate the installation process and lead to problems during use.
Do I Need Extra Tools for Grip Installation?
Taurus grips installation can typically be completed using basic installation tools. A standard screwdriver set and appropriate screws are usually sufficient for the installation process. However, some models may require specialized equipment to ensure the grips are correctly positioned and the screws are tightened properly. For example, torque-adjustable screwdrivers that prevent damage to the screws or special clamps that assist in securing the grips can make the installation safer. The need for extra tools depends on the material of the grips and the precision required during the installation process. In most cases, basic tools are enough if used correctly.
What Mistakes Should I Avoid When Installing Taurus Grips?
Mistakes made during Taurus grips installation can negatively impact the grips’ performance and the firearm’s usability. One of the most common mistakes is over-tightening the screws. Over-tightened screws can damage the grip surface and cause the grips to crack. Another common error is failing to seat the grips properly on the firearm’s frame. If the grips are not correctly positioned, they may remain loose and shift during use. Additionally, improperly angled grips can reduce user comfort and affect the firearm’s balance. To avoid these mistakes, care should be taken during installation, and each step should be followed correctly.
The Taurus grips installation process requires attention to detail and the use of appropriate materials to ensure a successful outcome. This guide has provided valuable information on safely mounting the grips and achieving long-term performance. The durability and ergonomics of the grips directly affect the overall handling of the firearm, making correct installation essential. Whether you’re looking to learn more about installing Taurus grips or need professional assistance, visit zibgrips.com. You can also contact us through the site for further questions and detailed information on the most suitable grip models for your firearm. By choosing the right equipment and grips, you can improve the performance of your Taurus firearms and ensure a safe experience.
